Printing on candles
STEP 1 - Preparation
You want to design a candle according to your wishes? Then here are the instructions for your DIY project! You will need:
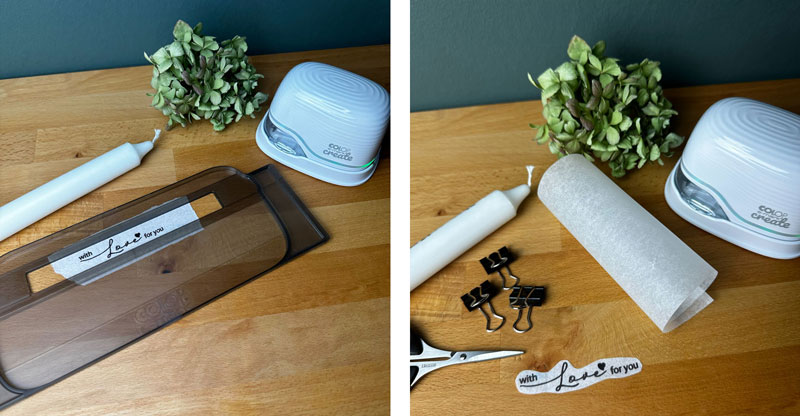
- Candle
- Tissue paper
- Baking paper
- 2-3 clamps
- Hot air dryer
- Scissors
- COLOP e-mark create
- COLOP e-mark Ruler


STEP 2 - Select imprint
Download one of the cool design templates from the website (design-templates) or create your own design. Everything is possible, black, colourful, motifs & fonts. Save and send to e-mark.
STEP 3 - Printing on silk paper
Cut a piece of silk paper to size. Use your e-mark ruler to make the print straight. Print on the smooth side of the silk paper.


STEP 4 - Preparing the candle
Allow the print to dry well. Cut out the tissue paper tightly around the print. Take the candles, place the print on the candle, place the baking paper over it and close it tightly with the clamps.
STEP 5 - Transfer to the candle
Heat slowly and at a slight distance from the candle using the hot air dryer. Attention! Include cooling phases. The intensity of the imprint changes. You have to observe carefully.


STEP 6 - Almost done
Allow the candle to cool. Remove the clamps and carefully peel off the baking paper. Your candle is ready.
TIP 1: Use white baking paper so you can see when the transfer is done.
TIP 2: After removing the baking paper, you can blow dry it again carefully to make the writing appear clearer.


