Romantic candlelight with homemade tea lights
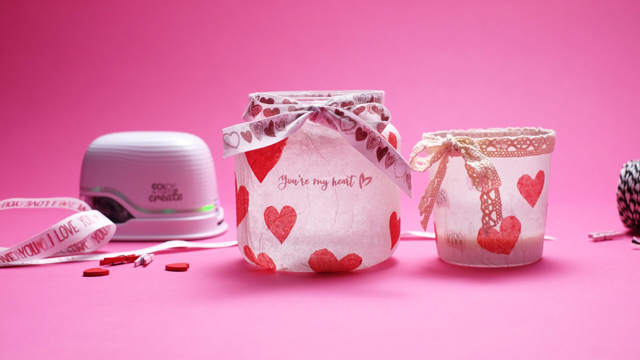
The creative tea lights from our February special are of course also all about love. In 7 simple steps you can turn an ordinary glass into a personalised tea light that is made for warming hearts.
STEP 1
Our February Special "Valentine's Day & Love" is almost coming to an end. But we still have one last tutorial for you. This time it's all about homemade tea lights. You can find what you need in our shopping list:
- Napkins in your favourite colour, large & small
- Glasses of any size
- Scissors
- Paste (normal wallpaper paste)
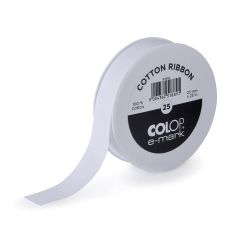
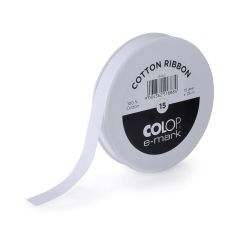
- COLOP e-mark® Ribbon
- COLOP e-mark® Ribbon Guide
- COLOP e-mark® create

STEP 2
Take one of your napkins and cut out lots of little hearts. The most practical way is to double the napkin and cut out half a heart. When you open it up again, you will get a perfect heart shape.

STEP 3
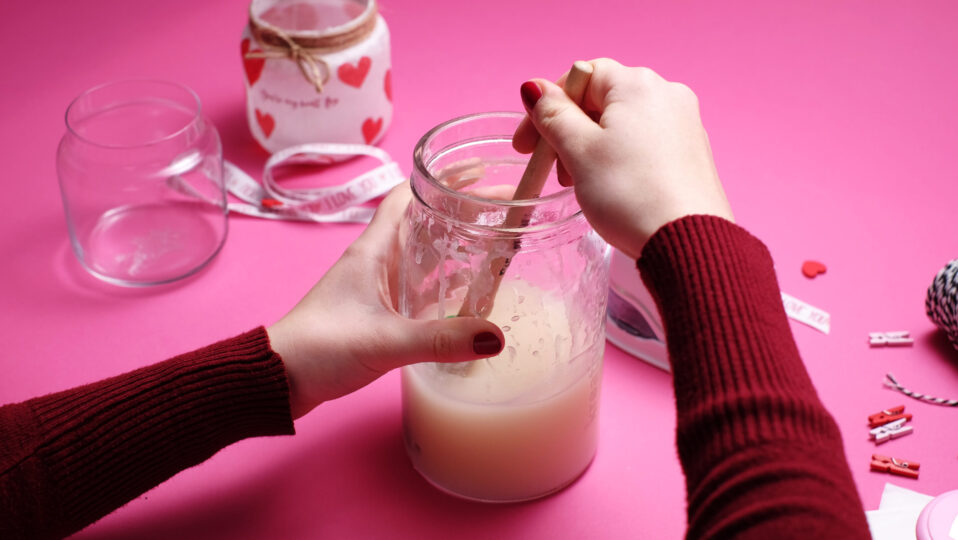
After this step, stir the paste, as it needs to soak a little before you use it. By the way, you can use standard wallpaper paste for this. It is very suitable. After this step, stir the paste, as it needs to soak a little before you use it. By the way, you can use standard wallpaper paste for this. This is very suitable.
STEP 4
Cut out large rectangles and squares from the other napkins, preferably in a different colour, which you can use to stick on your glass. Here the formula applies: The larger your rectangle, the quicker your glass will be covered. You can do this however you like: Some like it more structured, others smoother. Carefully brush the glass with the glue, taking care not to use too much. Now glue the napkin squares onto the glass piece by piece.
STEP 5
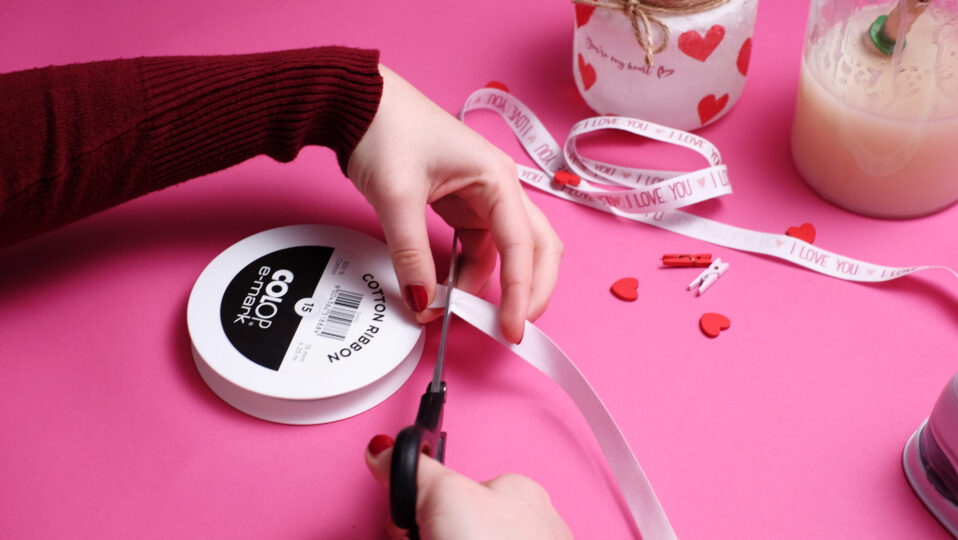
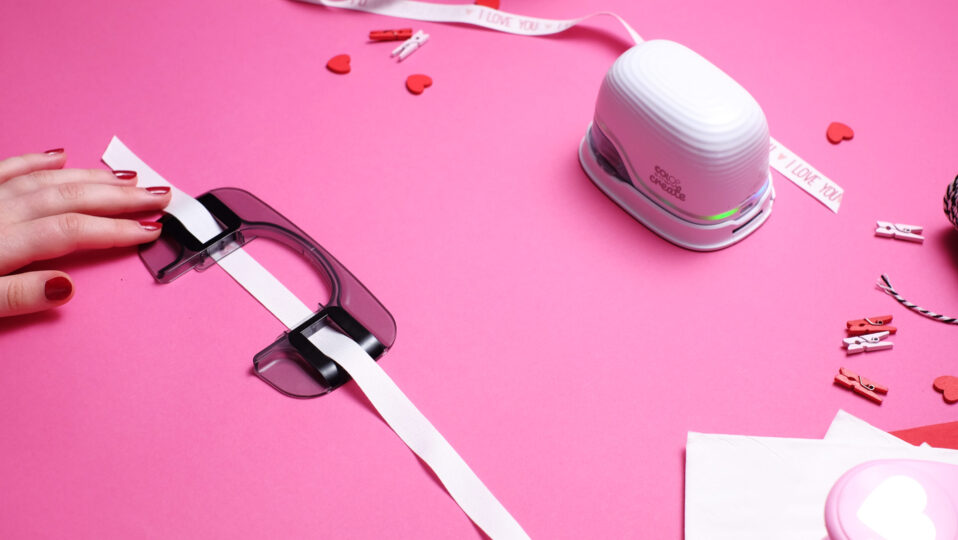
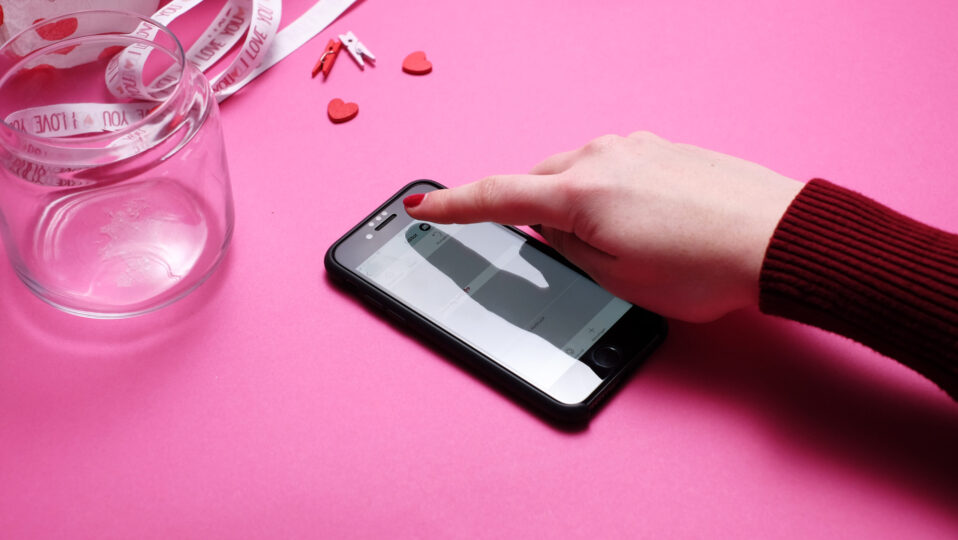
While your artwork is drying, you can now decorate it. Use our COLOP e-mark ribbons, which are available in three different sizes (10, 15 and 25 mm). Cut the ribbon to the desired length, pull it through the ribbon guide (tip: use the ribbon guide that matches the ribbon) and choose your favourite motif in our free app to embellish your ribbon. You can download more designs here:



STEP 6
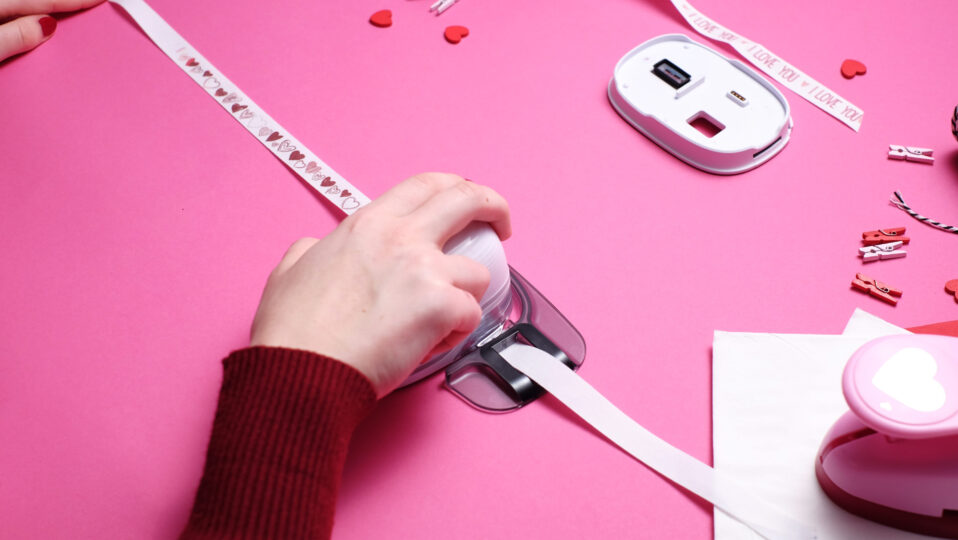
Once you have sent the design to the e-mark create with a click, you can start printing. Pull the e-mark create from left to right or from right to left with a normal hand movement to print the design.


STEP 7
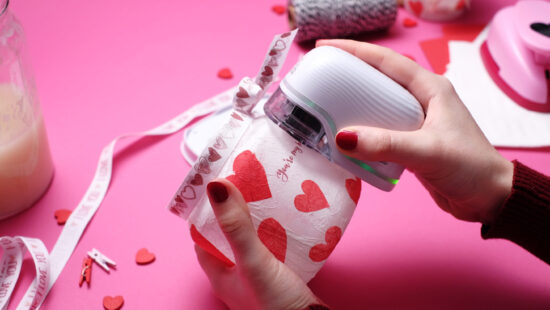
Is your glass dry? Great, now it's time for the finishing touches. Glide the e-mark create gently over the surface of your napkins and print your favourite motifs wherever you like and as often as you like. We wish you a lot of fun with your own projects!

