Happy Halloween!
Spooky Halloween Crafts for Kids and Grown-Ups
Days are getting shorter, nights longer, fog is crawling in…spooky, isn’t it? This is the perfect occasion to use your COLOP e-mark create to add some colour to grey days by crafting treat bags, window decoration and Halloween themed face masks. With this little printer, you’ll be able to add a personalised touch to your crafts.
Find all the designs we used in this blogpost and many more on our website in the template download section:
Cute treat bags
You have maybe already started thinking about the treats you want to hand out and how to creatively package them. We have created some treat bags perfect for Halloween to add a spooky touch to this special day.
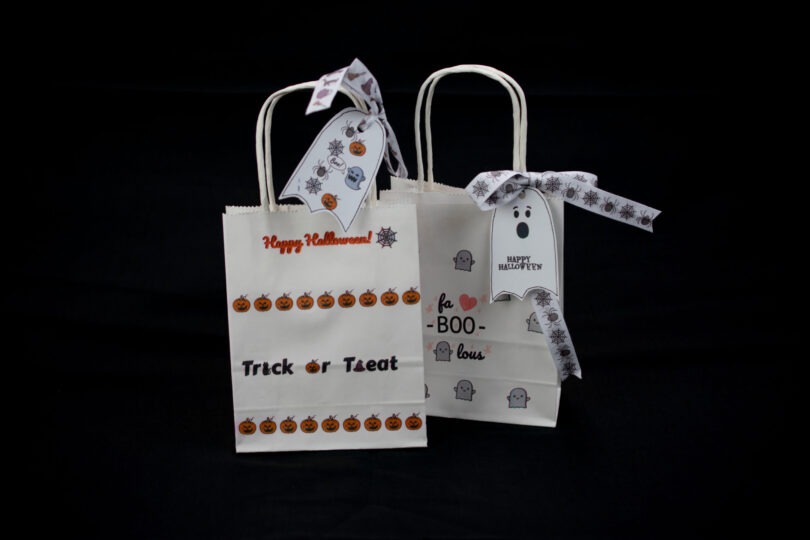

This treat bag, although extraordinary, is fast and easy to make. All you need is paper gift bags of any colour you want (keep in mind that e-mark ink works best on light material), white card paper, the COLOP e-mark Ribbon 15 mm and the COLOP e-mark Ribbon Guide 15 mm. Choose a Halloween picture or one of our Halloween templates to print a pattern on the bag. Do the same with the ribbon (select the continous printing mode in the e-mark create app). Now fill the bag with candy, fold it over a bit, punch a hole with a puncher and thread the ribbon through it to tie the bag up. Create a gift tag using the e-mark create and stick it on.
Candy Glove
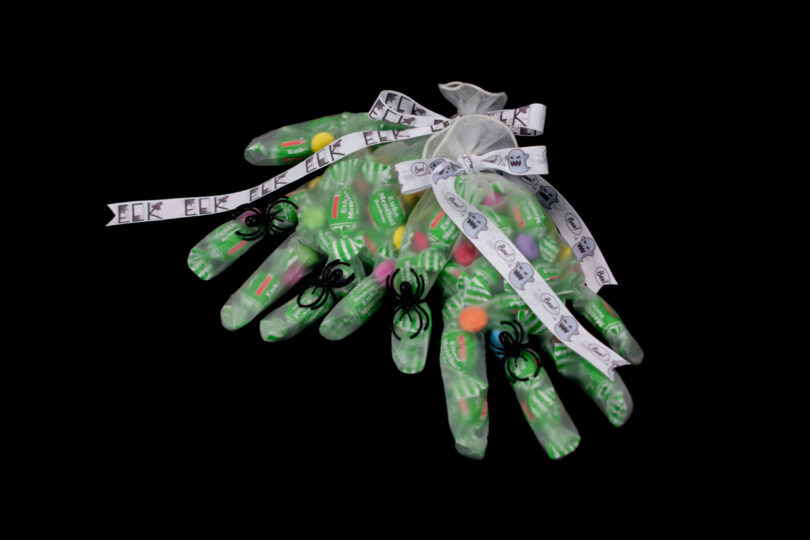
For the candy glove you simply need a clear glove and 25-30 cm of the COLOP Ribbon 15 mm. To print on the Ribbon we recommend the Ribbon Guide 15 mm. Fill the glove with candy, print the ribbon with one of our Halloween designs (or create your own) and tie it around the end of the glove to close it. To look more spooky you can stick little spiders to it.

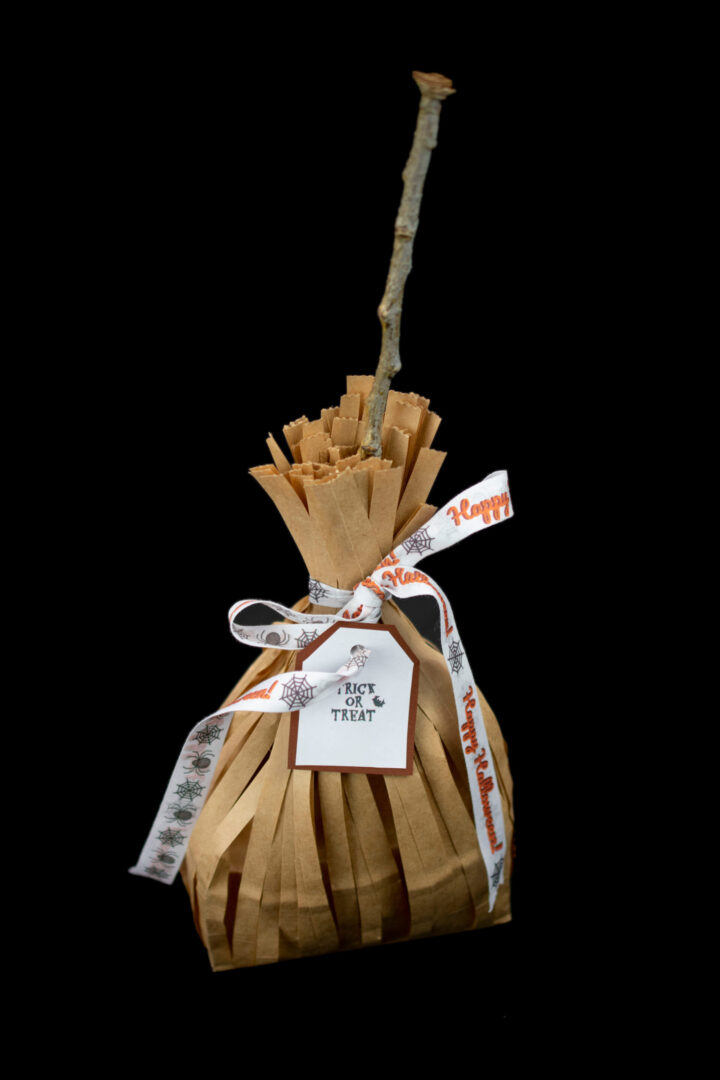
Witch's Broom
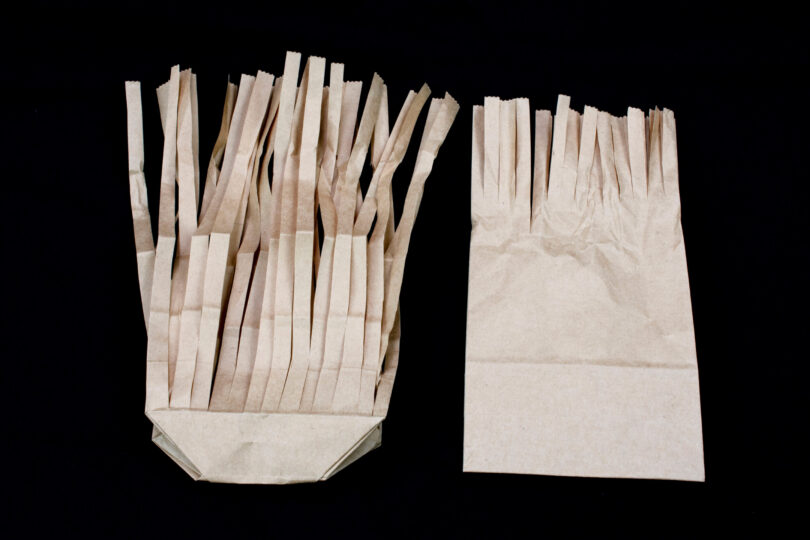
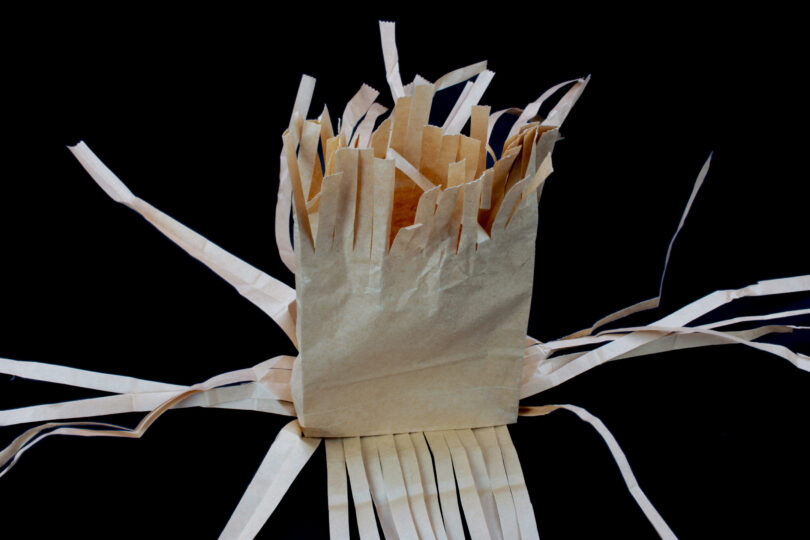
To create the witch’s broom you will need 2 brown paper bags, black and white paper, a stick and COLOP Ribbon 15mm and the Guide. First you have to cut one of the paper bags, fill the second bag with candy and merge them. Then you print on the ribbon with a design of your choice, put a stick in and wrap the ribbon around to close the bag. Next create a little gift tag with white and black paper, print a spooky quote onto it and attach it to the broom. Follow the picture guide for easy understanding.



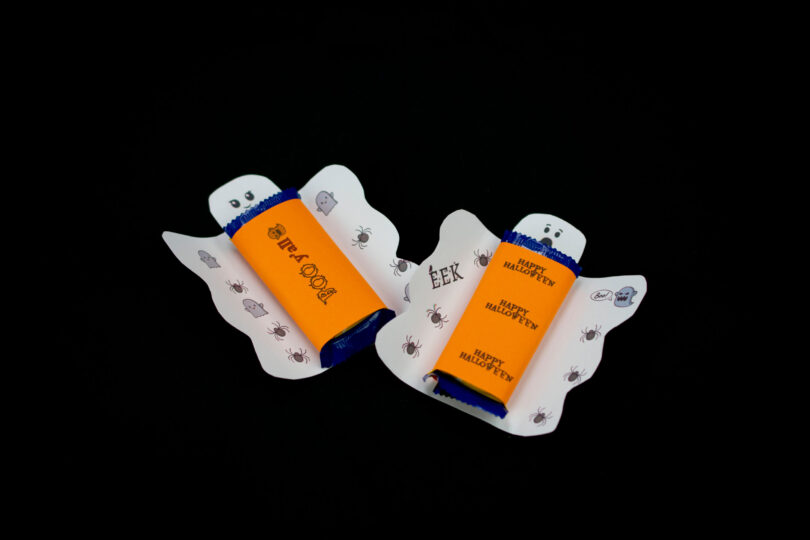
Ghost Candy Bar
For the ghost candy bar you need white card paper. Cut out the shape of a ghost or vampire, for size refer to the size of the candy bar. The paper cut out should be big enough so that the figure can hug the candy bar. Print a face on the head and little quotes on the inner sides. For exact positioning of the e-mark create we recommend to use the COLOP e-mark ruler. Then stick the candy bar into the middle and fold the ghost’s sides over it, as if it were hugging the candy bar.

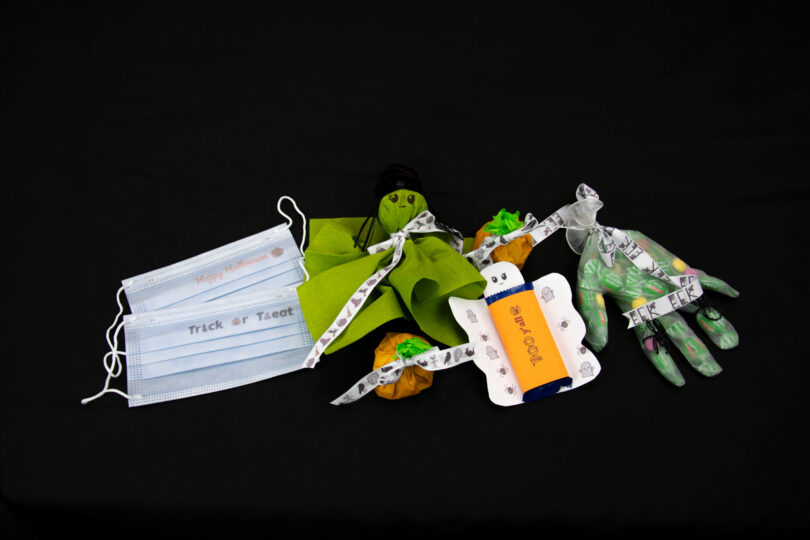
Little pumpkins, witches and ghosts as window decoration
You want to make some window decoration for Halloween but you don’t have much time? Try these little pumpkins, witches and ghosts that you can hang in your window as decoration for the spooky day.
What do you need: COLOP Ribbon 15mm and the Ribbon Guide, colourful tissue paper or napkins, white tissues or napkins, pipe cleaners for the witch hat, glue, clear nylon thread to hang.
Instructions:
What you need: COLOP Ribbon 15mm and the Ribbon Guide, colourful tissue paper or napkins, white tissues or napkins, pipe cleaners for the witch hat, glue, clear nylon thread to hang.
Instructions:
- Form a ball of paper (take any scrap paper you have around)
- Create the figure
a. Pumpkin: cut out a big green circle and a smaller orange one, glue them on each other centred
b. Witch: prepare the witch hat by wrapping the pipe cleaner in a spiral (make sure it’s the same size as the paper ball) and cut some paper for the hair
c. Ghost: print little spiders on the tissue or leave it blank - Pick a design or create your own imprint and print onto the ribbon using the e-mark create
- Fold the pumpkin circle, witch paper or ghost tissue and wrap around the paper ball after placing it in the middle
- Tie the ribbon around the paper right under the ball to fix it. Now print or draw little faces on the figures and glue the witch hat on
- Attach the clear nylon thread and hang them in your window

Halloween themed face masks to keep your loved ones safe
In order to keep your kids and yourself safe while trick-or-treating you may want to wear a facemask. Why not print onto those masks in a Halloween theme? It doesn’t matter if it’s a single-use mask or a fabric mask, the e-mark prints perfectly on both surfaces. As the ink is not waterproof, a quick wash after the evening will remove any remainder on the fabric.
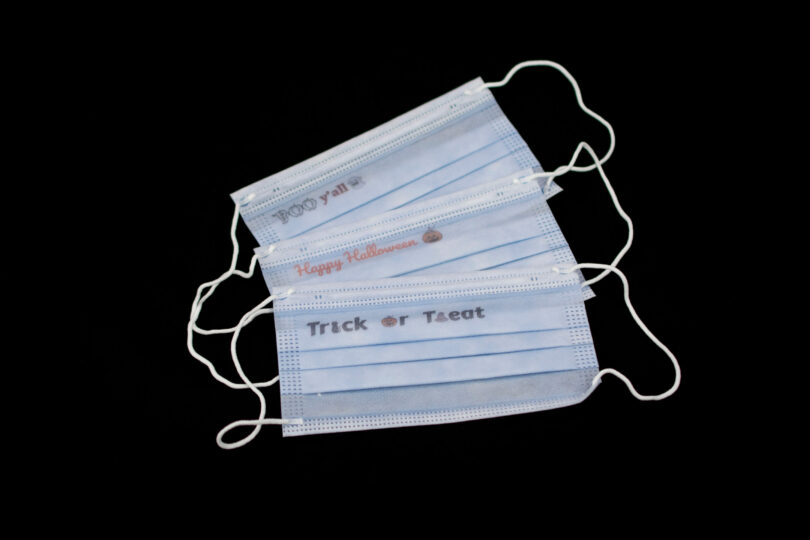

Tip: Using the COLOP Ruler makes printing on masks ever so easy.


