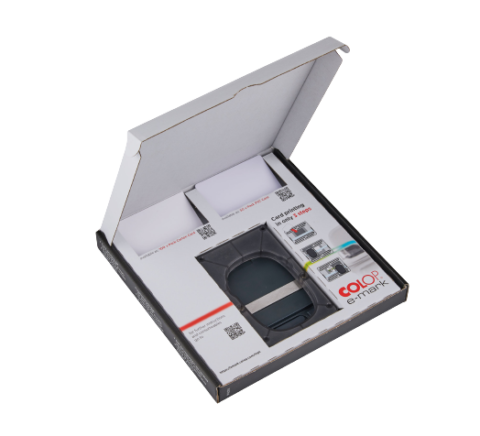
Professional card printing with the new Multiline Printing Tool
What is the Multiline Printing Tool?
With our new Multiline Printing Tool, various cards can be printed easily and professionally. In addition to the actual printing tool, we also supply two different kinds of cards – plastic cards and paper cards.
The packaging of the Multiline Printing Tool contains ten paper and ten plastic cards, so that you can start to print your new cards right away.
- Plastic cards: they are very durable due to a special coating which makes them resistant to water, eco solvent and minor scratches. They come in the common credit card format (ID1)
- Paper cards: they are strong and durable and have the standard business card format

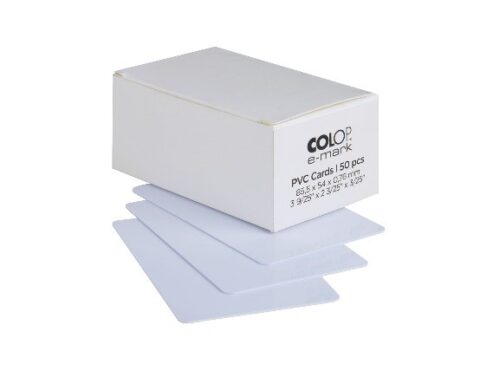

Other cards can be used, however the COLOP e-mark cards have been tested extensively and ensure high quality printing.
Please note that the Multiline Printing Tool can only be used with a COLOP e-mark, not with the COLOP e-mark create.
How does the Multiline Printing Tool work?
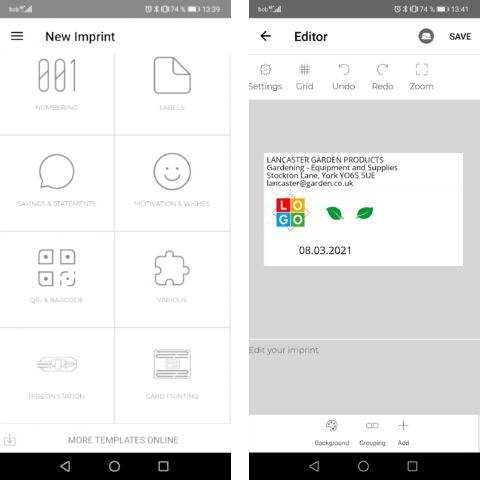
Before starting with the actual print, you need to create your template. For that, go to the app to “New imprint” and then select the category “Card printing”. The Multiline Printing Tool can only be used with these templates and vice versa (i.e. the Multiline Printing Tool templates cannot be used without the Multiline Printing Tool).
Select one of the templates and adapt it to your liking. The printing area is fixed and, in comparison to normal three line imprints, it is larger. It has been extended to 80 x 50 mm. There is also no gap between the lines.
You can add several elements to your card imprint, such as text, images, and QR codes or use the serial printing, numbering or date/time functions. Design your imprint, just as you are accustomed to with regular imprints.

Only a few steps left and you will be to be ready to print:
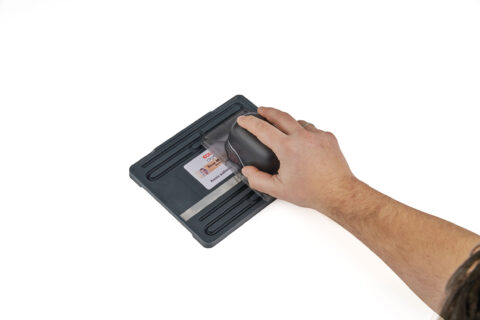
- Slide the metal bar down
- Insert your card (plastic or paper card) into the predefined space
- Slide the metal bar up over the card
- Put the slide into the first rail
- Send your card imprint to the e-mark and put the e-mark into the slide
- Print your card by moving the e-mark gently along the guide track (starting at top left side)
The guide track leads you exactly through the printing process for accurate printing.
Have a look at our video or the short manual for exact sequence of steps.
What can you use the Multiline Printing Tool for?
As the cards can be printed on in full colour and one by one individually, it offers great range of applications. It is ideal for printing business cards or visitor cards, starting with lot size 1. This makes it possible to prepare colourful price cards for a counter with additional information for the seller on the back of the card. More creative uses would be individual vouchers or member cards with personal messages or preparing cards for a children’s birthday party.
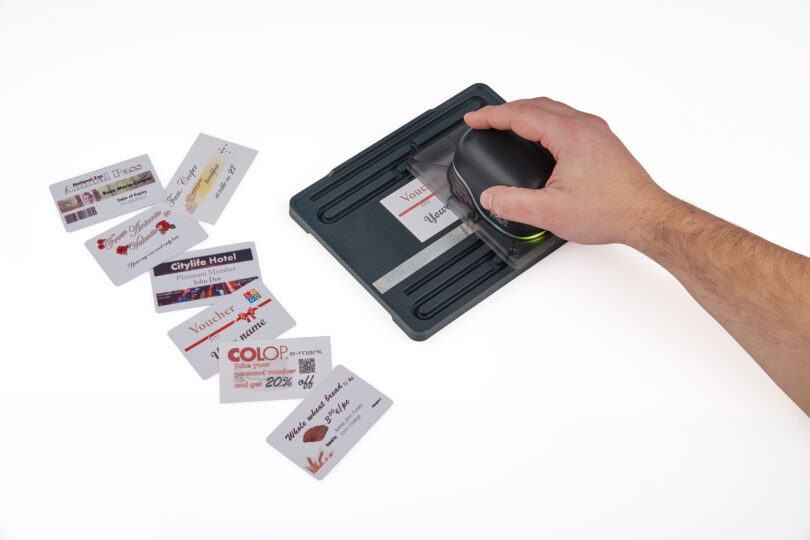

Templates for the Multiline Printing Tool
You need specific templates in order to use the Multiline Printing Tool. There is an own template category called “Card Printing” in the app. Besides that, there will be additional templates for download on our website soon:
